Revit Add-in Guide
After installing, use the Login button in Realistix tab in order to log in to your Realistix account
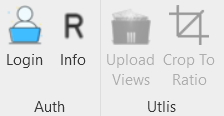
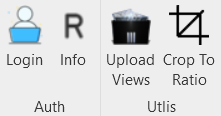
After logging in, the buttons of the app will be available to use.
Your login details will be saved for a few days before having to login again.
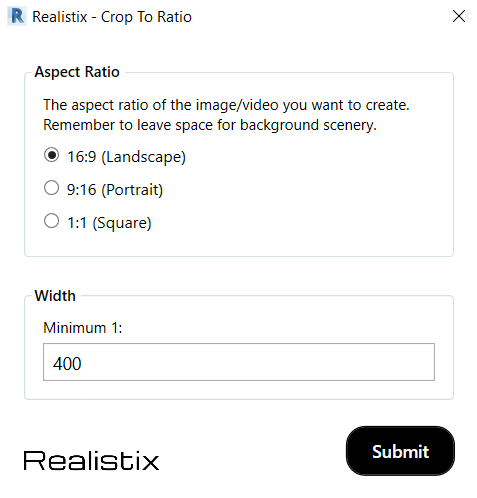
The Crop Region of the view will serve as the borders of the uploaded image. Make sure to set it according to your needs. If the Crop Region does not look right, you can try again.
- Go to a desired view in Revit
- Make sure that Crop Region is on
- Click on the Crop To Ratio button in Realistix tab
- Select preferred width and aspect ratio
- Click Submit
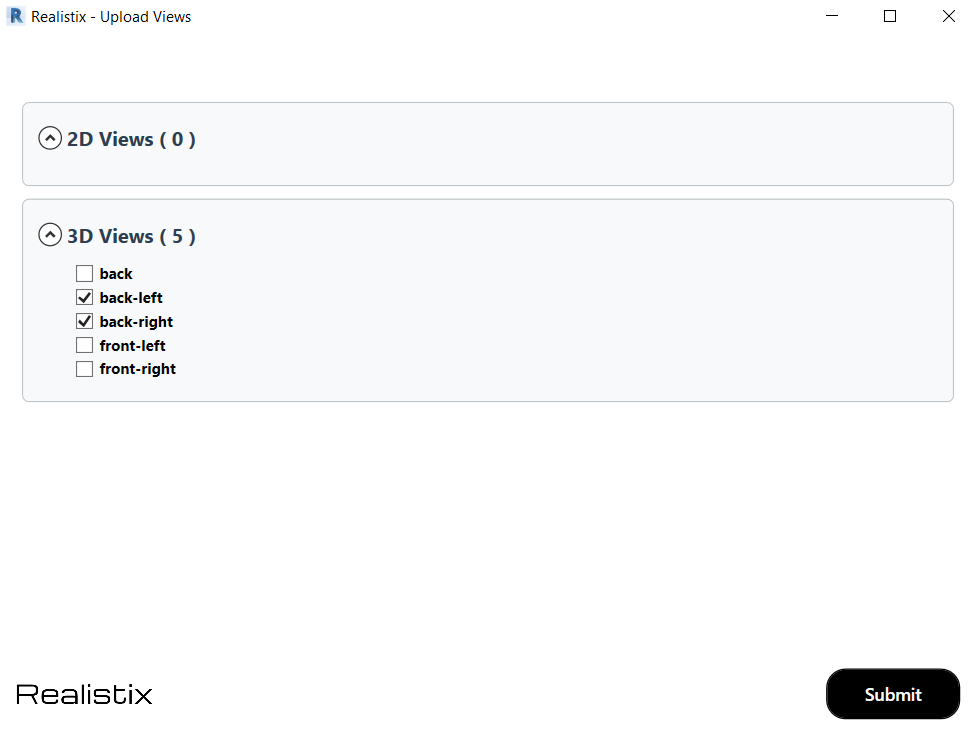
- After preparing your views, click on Upload Views button in Realistix tab
- Select the views you want to upload
- Click Submit
- Navigate to the Studio page
- Go to the Revit Uploads tab, your uploads should now be available to use
- Click on the 3 dots menu of one of the views and select the tool you want to use